|
||||
NAVIGATION |
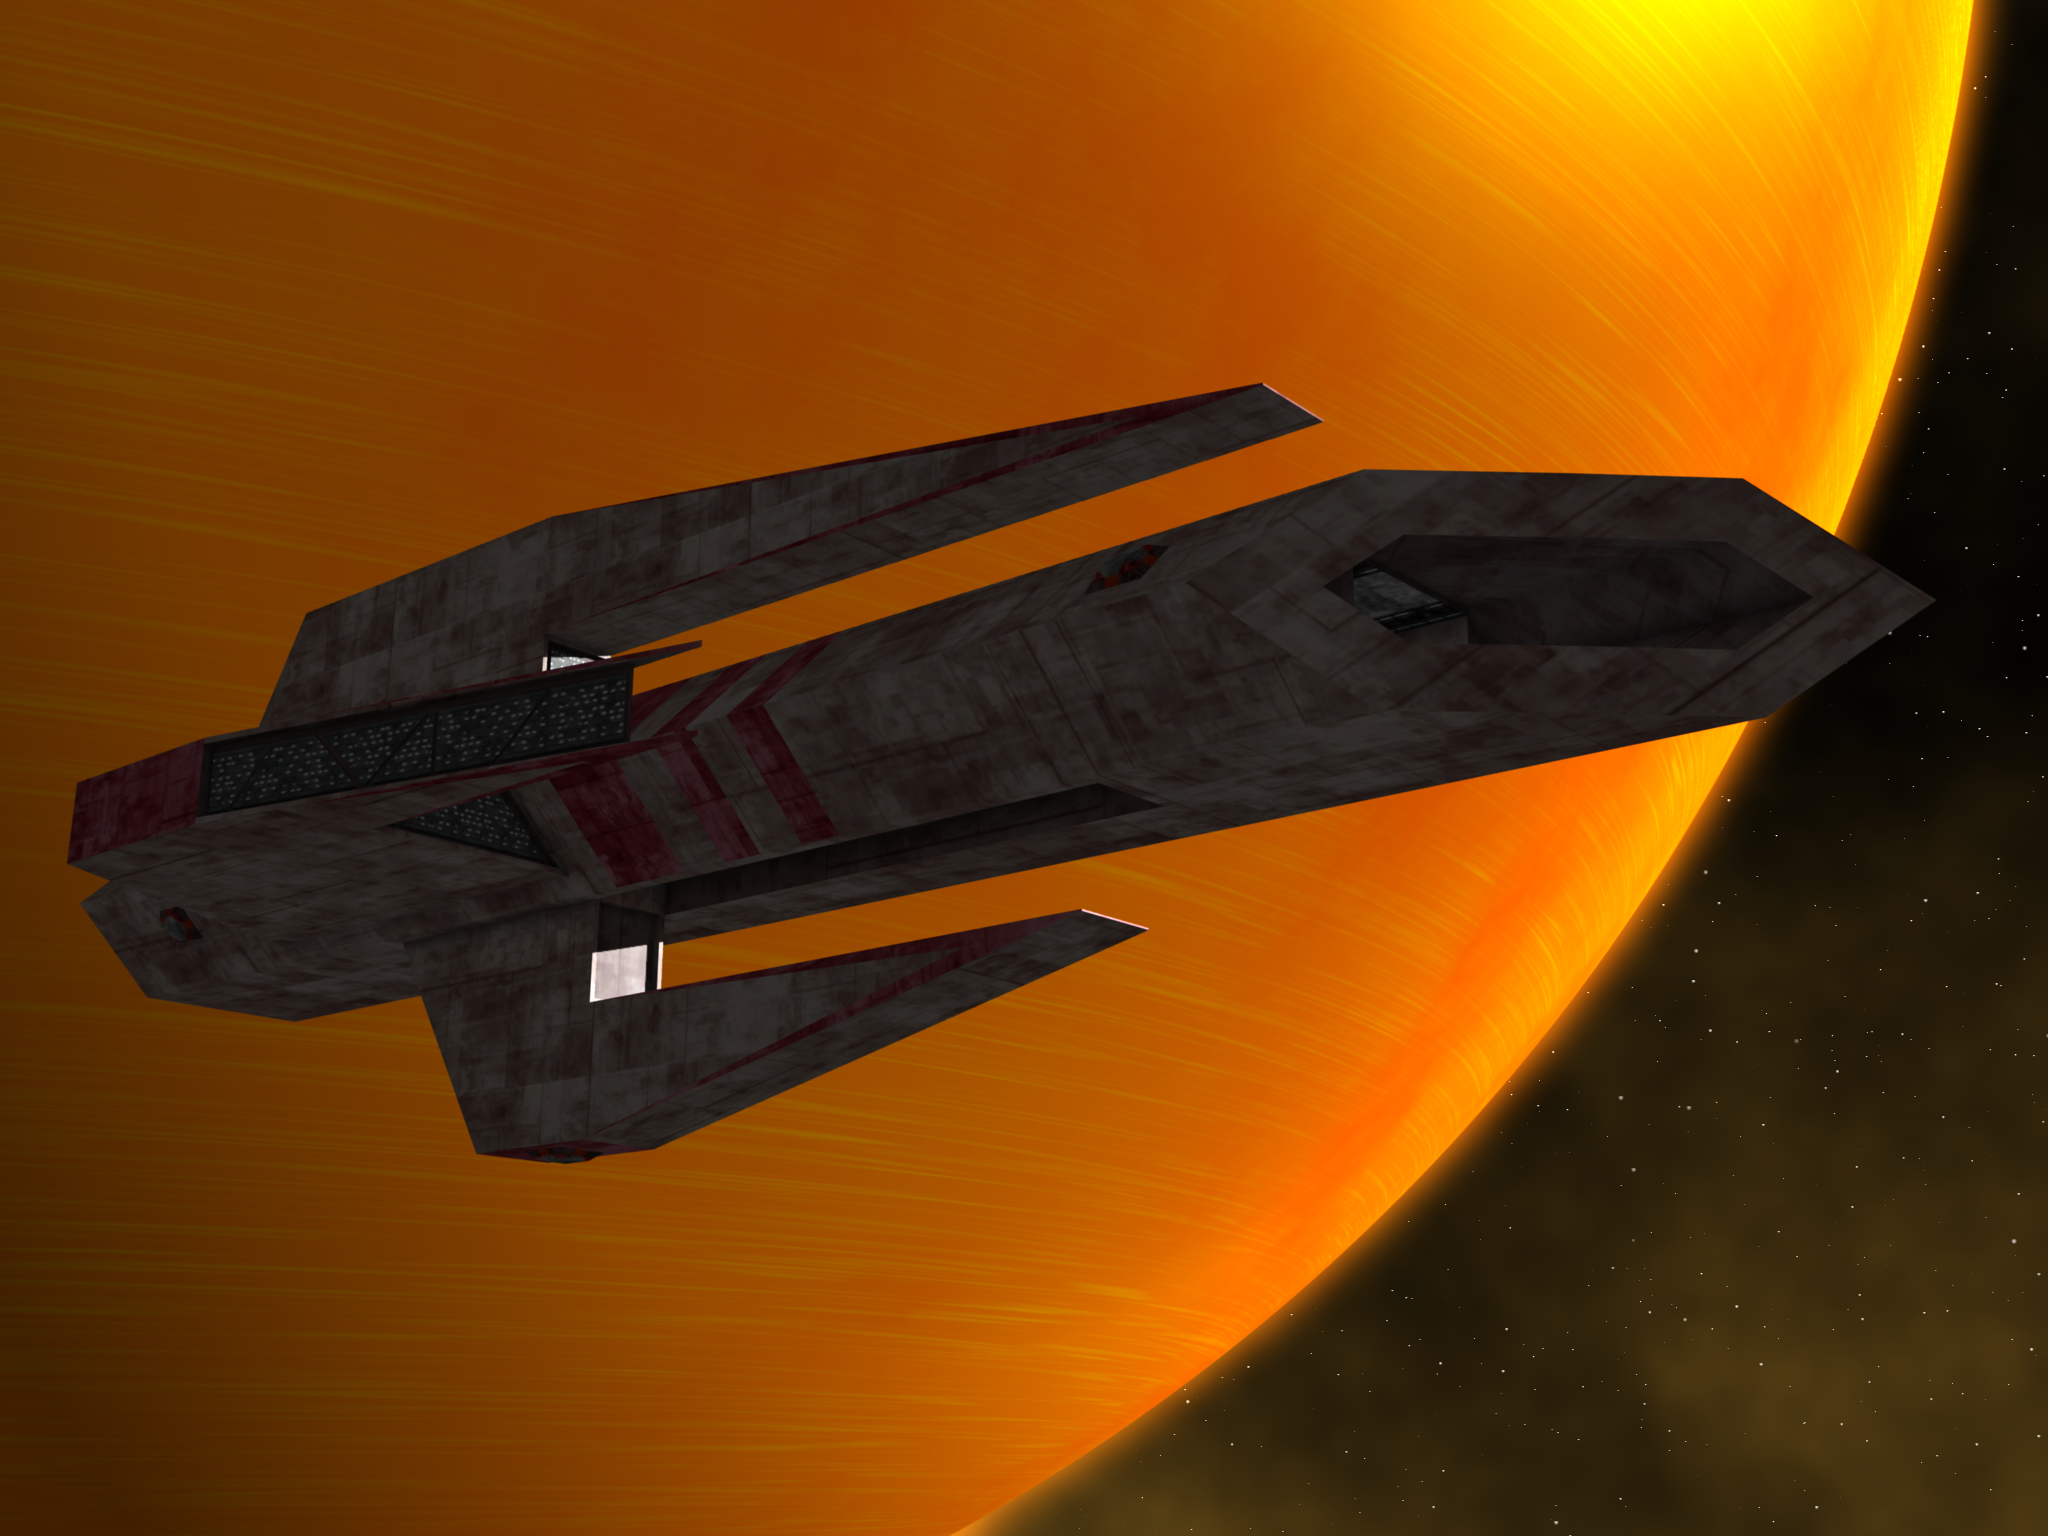
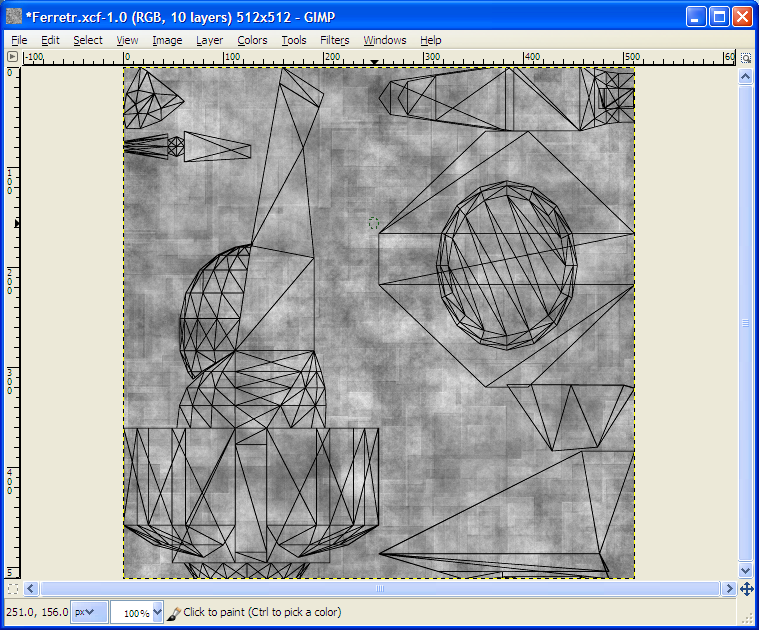
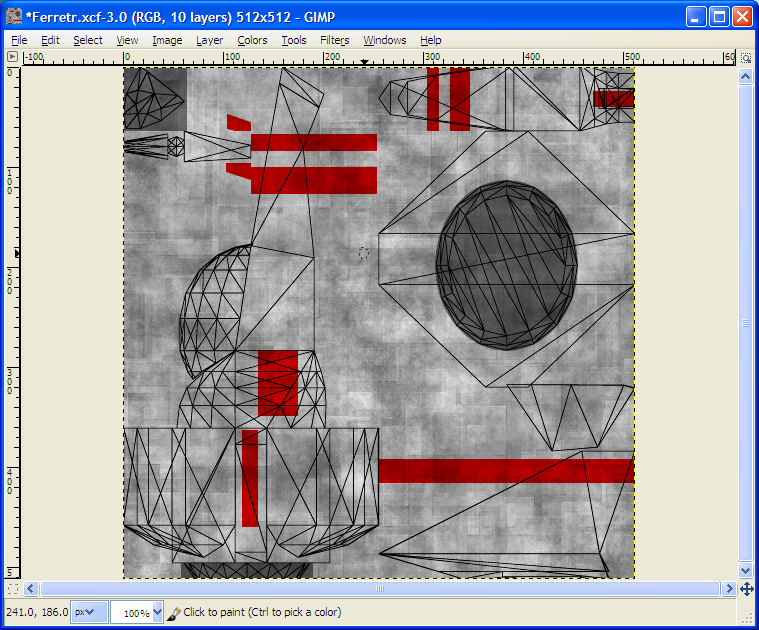
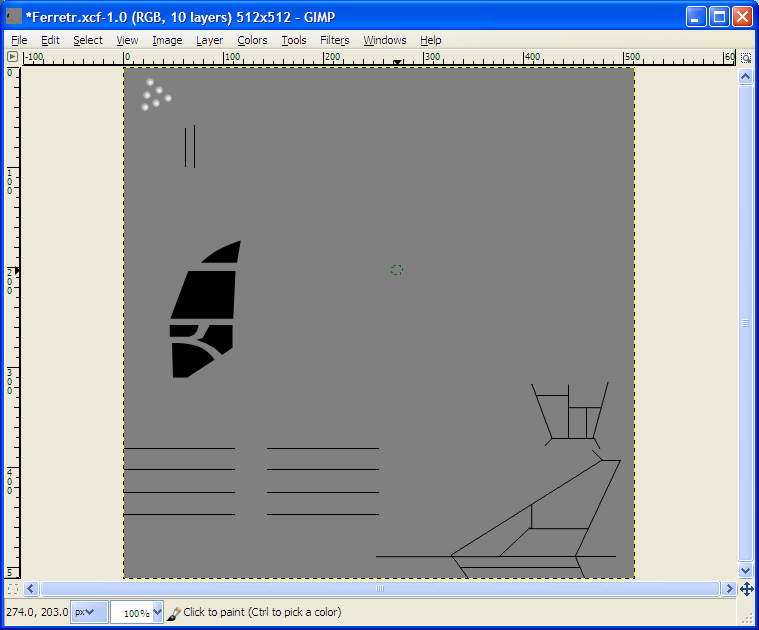
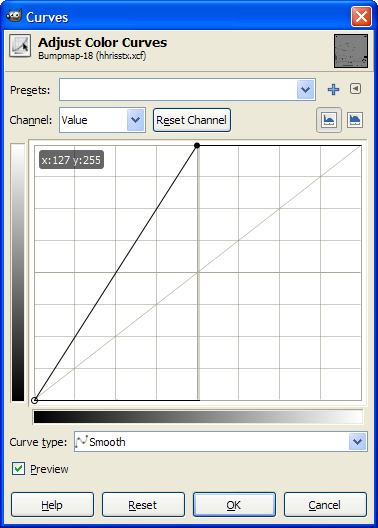
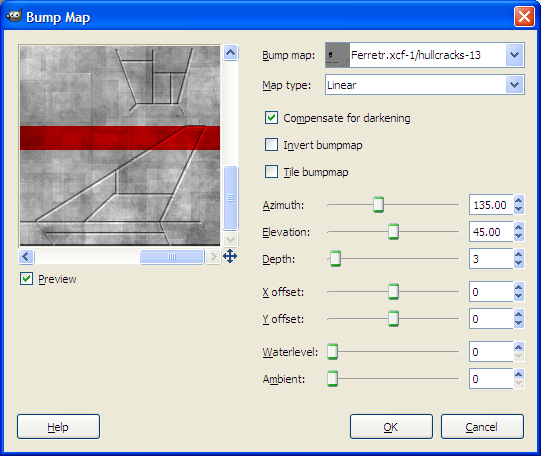
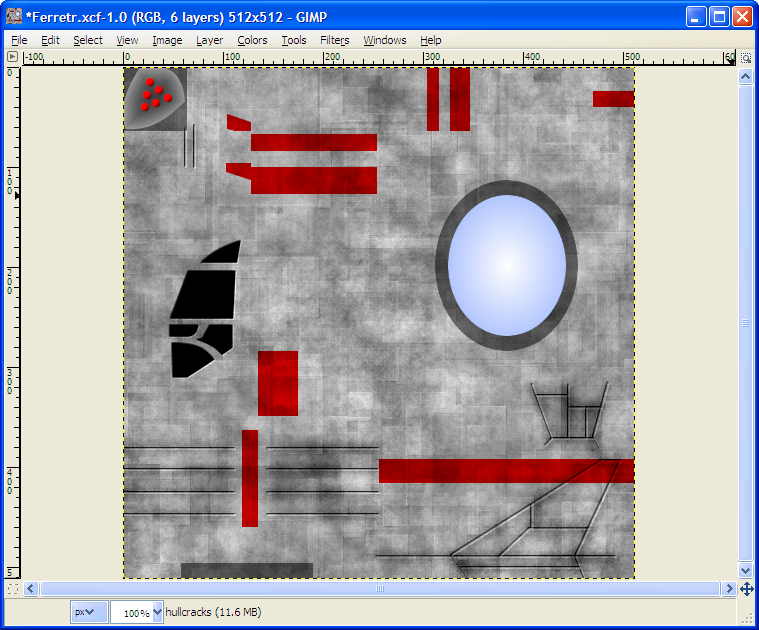
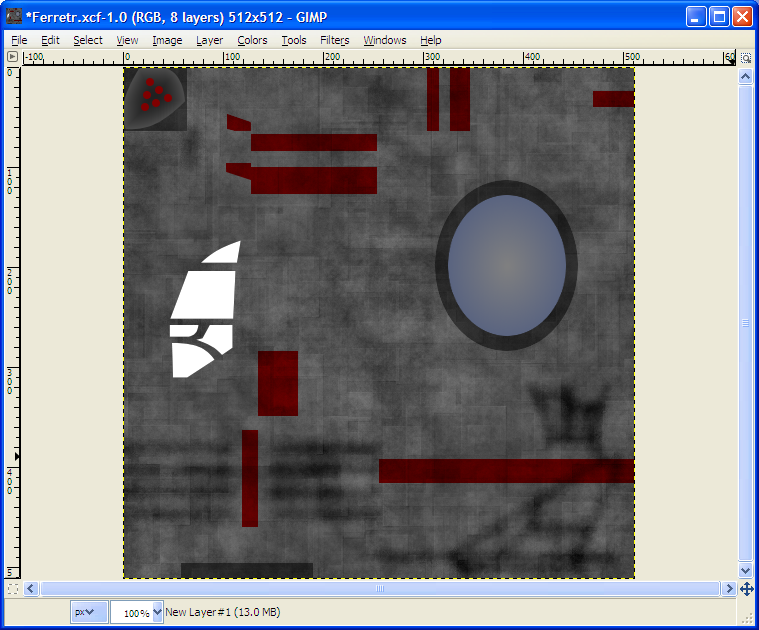
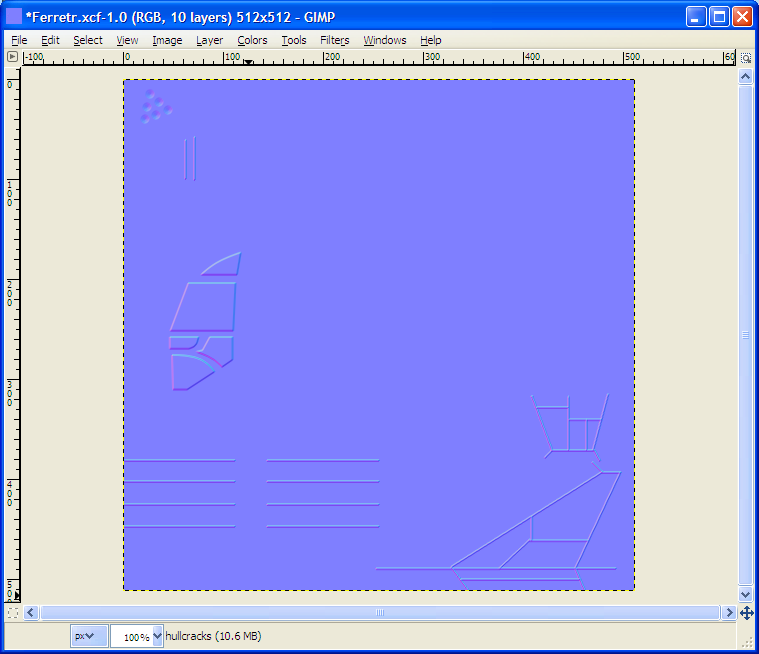
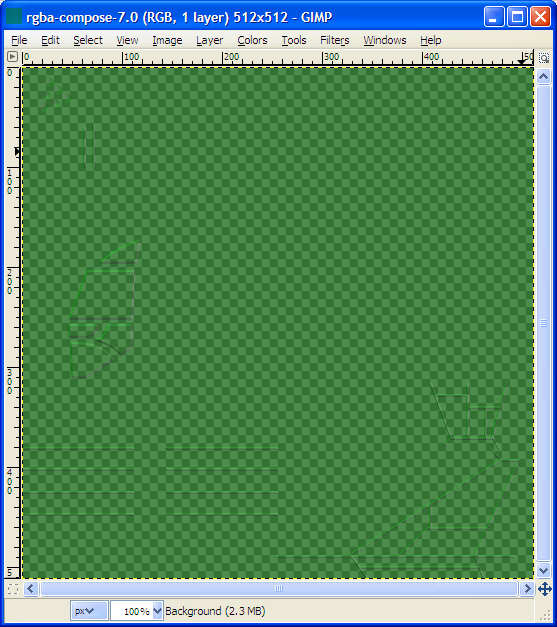
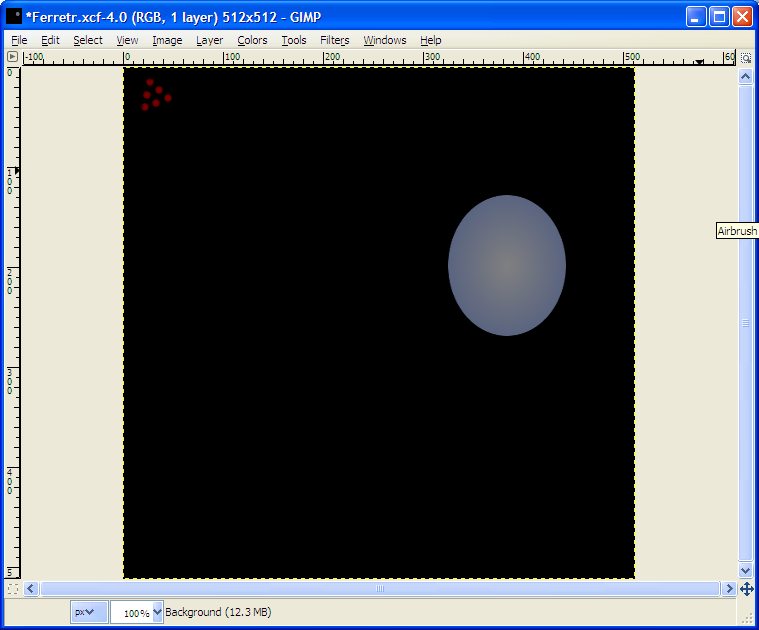
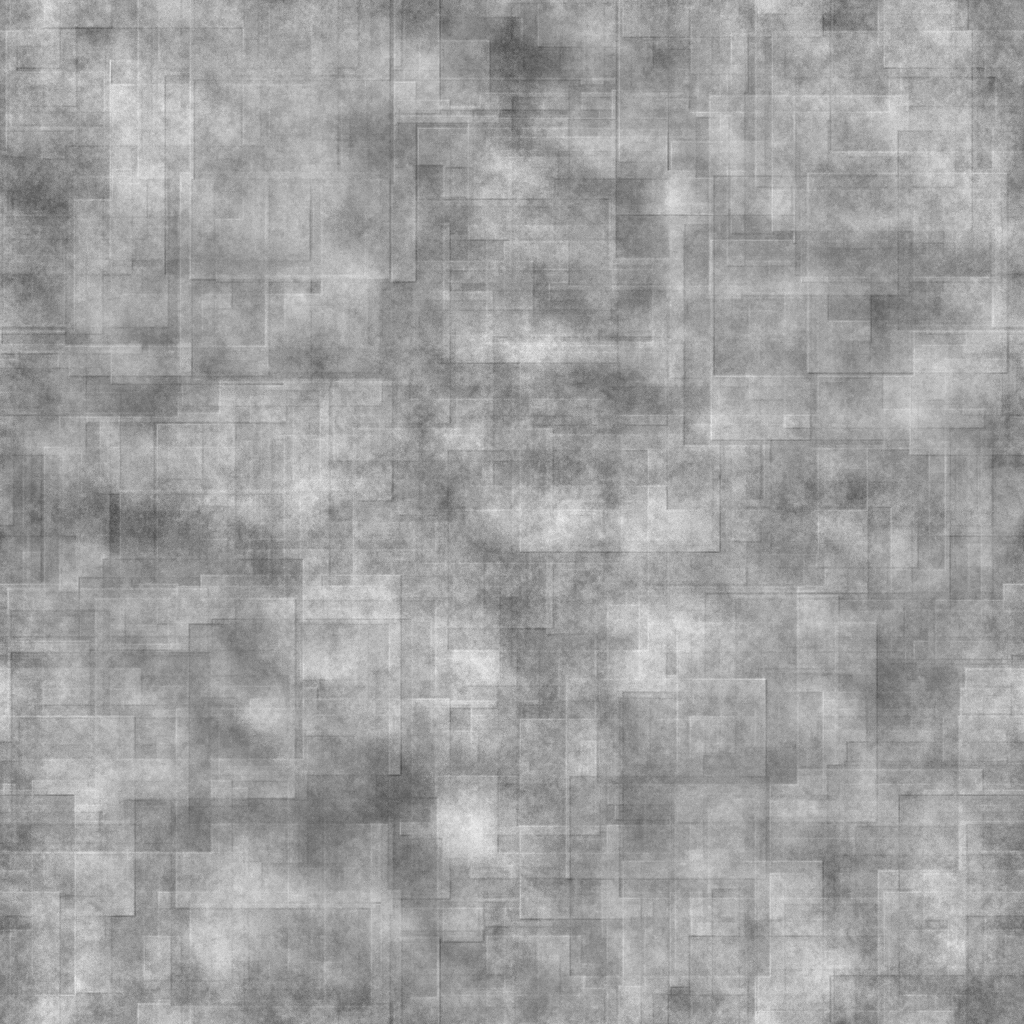
Texturing Tutorial (GIMP)Table of contents1. Preface 1. PrefaceThis is a simple tutorial for people who want to learn how to make sci-fi spaceship textures using The GIMP. The texturing method presented here looks best for retexuring the 3D ship models from Wing Commander Standoff or creating textures for 3D models of Wing Commander 1 and 2 ships. Before you begin, I assume know how to work with most of GIMP's painting tools, selection tools, and dialogs, such as the rectangular and circular selection tools, the paintbrush and pencil tools, and layers dialog. As an example, this tutorial will show how this method is used to re-texture the P-64 Ferret model from Wing Commander Standoff. Before you begin, you must have a basic idea of how you want your ship to look. Ask yourself what colours should go in what places, or what sorts of details exist on the ship that are not part of the 3D model (such as cockpit windows or intakes), because these will all need to be part of the texture. Also, ask yourself how much detail you intend on adding to the ship texture so you can decide how large you want your texture to be, and remember that most 3D computer games will only allow textures to be sized to the powers of two (256, 512, 1024, etc.). 2. Introduction and first stepsTo begin, you'll need a base texture. The base texture defines what kinds of material(s) your ship is made of. For human-built spaceships, this is usually a flat image of plain metal. For convenience's sake, I've created a free-to-use base texture which you can download here, and I'll allow anyone to use it freely in their game/mod projects under the CC-BY license. The next step is to create a UV layout for your ship if you haven't already, and then export the wireframe of the UV layout from your 3D modelling program to a separate image. Now, open up the exported UV layout in GIMP as a layer, and resize the UV layout to the same size as the base texture if you need to, and then set the blend mode to Multiply. You should now see the wireframe of the UV layout over the base texture. This is so that, when you are painting on the texture, you know which part of the ship you are painting. I would also recommend turning down the opacity of the UV layout so that it doesn't get in the way when you're trying to paint on the texture. If and when you've imported the UV layout correctly, you should have something that looks like this: 3. Adding coloursNow you'll need to add some colours to the ship. Add a new layer, call it "colour", fill it with white, remove the alpha channel, and set the blend mode to Multiply. Now, with a basic idea of how your ship is going to be coloured, draw the coloured/painted areas onto the new layer using the rectangular and circular selection tools (as well as the paintbrush and pencil if you need to), using the UV layout as a guide to what parts of the ship the painting will affect. If you need to put any complex shapes such as logos on the colour layer, I would recommend designing them with paths and then making them selections, since you can tweak the shapes and re-fill them if you feel the need to. After you're done this step, you should have something similar to this: 4. The little detailsNext up is decals, details and stuff. Create a new layer called "diffuse" or "details". If you still have a basic picture of the ship in your head, you should be able to imagine where the cockpit glass, intakes, and other things are. The cockpit glass and intakes can just be painted as black areas on the texture. In some cases, it may be more appropriate to use gradients, images, or different colours, such as engine nozzles or warning stickers on the hull. In case you don't prefer to use gradients for the engine nozzles, I've created a freely-usable engine nozzle texture for you here. Again, this image was completely made by me, and I'm licensing it as CC-BY for use in your game/mod projects. Once you're done, you should have something like this: 5. Bump mappingWe're now moving on to bump mapping! Add a new layer, call it "bumpmap", and fill it with 50% gray (Or if you want to get technical, that's RGB 128, 128, 128). Before you start painting, think about what the hull plating of your ship looks like. Once you have an idea about how you want the hull plating to look, draw in black over recessed areas and draw in white over elevated areas. If you get to a point where you need to draw a straight line on an angle, I'd recommend marking the two ends of the line, and using the paintbrush tool with a Circle 01 brush to paint a dot on one end and use shift to paint a straight line to the other end. If you want the lines to look really good, the position that you paint has to be exact. After you're done painting in the lines, copy the black areas like the cockpit and intakes from the diffuse/details layer to the bumpmap layer. Once you're done, you should have something like this: 6. Dust/dirtTo add dust to the texture, copy the bumpmap layer and rename it to "Dustmap", remove any large or thick black areas like cockpits or intakes from the dustmap layer, and then go to Colors -> Curves and make the background white by dragging the second end of the curve to the position X:127 Y:255. Before you apply the bumpmap to the texture, hide the bumpmap and the dustmap(s) by clicking on the "eye" icon next to the bumpmap layer. NOTE: It is highly recommended that you save now and make sure that you don't accidentally save later on and lose all of your progress. To apply the bumpmap to the texture, right click in the Layers dialog, click on Merge visible layers, and then go to Filters -> Map -> Bump Map and select the gray bumpmap layer. The bump map filter dialog and the preview should look something like this; 7. Specular mapTo make a specular map for the ship, close the finished diffuse texture and re-open the texture file, make a new layer filled with 50% gray (RGB: 128, 128, 128) place it below the topmost dustmap layer, and set the blend mode to "Multiply". Set both dustmap layers visible, but do NOT apply the bumpmap. Now, create a new layer above the dustmap layers and fill in reflective parts like the cockpit glass with white. After you've done that, you should have something like this: 8. Normal mapTo make the normal map, install the GIMP normalmap plugin from here, and then make the bumpmap visible and make the dustmap(s) invisible, flatten the image, and then use the GIMP normalmap plugin to turn the bumpmap into a blue normalmap. I recommend using the 3x3 or 4sample filter using a scale of 2.0. Once you're done that, you should have something like this: Before your normal map will work in FS2_Open, you'll have to create a "green" normal map from the "blue" normal map. A "green" normal map only has a green channel and an alpha channel, and the third channel is calculated by the shader. To convert your "blue" normal map to a "green" normal map, go to Colors -> Components -> Decompose, and use the default settings. In the new image, fill the blue channel layer with black, go to Colors -> Components -> Compose, change the colour model to RGBA, and then use the red layer for the Alpha channel and the green layer for the green channel, and use the blue layer for the red and blue channels. Once you're done, you should have something like this: 9. Glow mapTo create a glow map, copy the diffuse/detail layers, create a layer filled with black and place it under the copied diffuse/detail layers, delete the details in the diffuse/detail layers that do not have an illumination/glowing effect, create a layer above filled with 50% gray (RGB: 128, 128, 128) and set the blend mode to "multiply" and flatten the image. Once you're done that, you should have something like this: |
COMMUNITY |
||
News |
WCHF Public Forum Wing Commander Saga |
|||
DATABASE |
OTHER |
|||
Landreich Confederation |
Installing FS2_Open Mods |
|||
INTELLIGENCE |
||||
Factions Kilrathi Strikecraft |
||||
WCHF Website Content and Design © 2011 by Kevin Caccamo. Wing Commander and other Origin products are © by Origin Systems, Inc. Project hosted by Hard Light Productions. All Rights Reserved. |
||||
